Microsoft Dynamics 365 Business Central | Create Budget from History (G/L Balances)

Article by: Carlos Lozano – Microsoft Dynamics 365 Business Central Consultant
Creating a budget manually or from an Excel import file can be cumbersome, luckily there are a few excellent hidden features that allow you to quickly create a budget based on actual entries from the previous year and use that as the starting point for your budgets going forward.
Steps to Create a Budget from History:
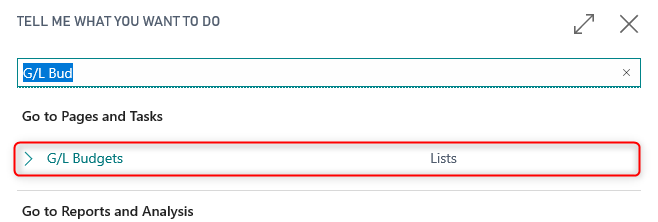
Use the Alt+Q (Tell Me search tool) to search for G/L Budgets and select it from the list.
Select +New to create a new G/L Budget. Then, enter a Budget Name, on Show as Lines enter G/L Account, and complete the other options. Add or remove filters as need.
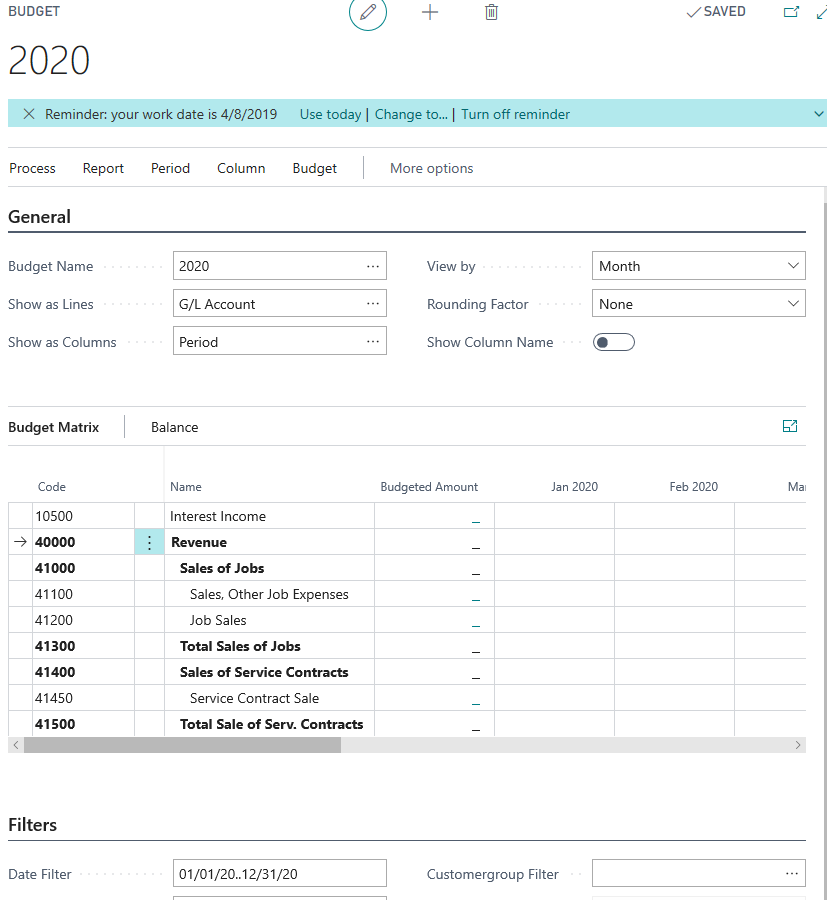
Select Balance under Budget Matrix and G/L Account Balance/Budget.
- On the G/L Account Balance/Budget window, select Actions > Functions > Create Budget > From History…
- On History Beginning Date enter the first day of your prior fiscal or calendar year.
- On Budget Beginning Date enter the first day of the new budget year.
- On of Periods, enter the number of periods for the Budget.
- On Period Length select the Length of each Period.
- On Percent Change specify if you want the Budget to increase in relation to the corresponding historical period.
- On Round To specify the nearest value you want the Budget to be rounded to.
- On Income/Balance, select if you want to create the Budget for Income Statement or Balance Sheet or both.
- On enter a G/L Account to create a budget for one account or clear value to create it for all accounts.
- On Filter totals by, specify any required filter, for example, Customer Group Small, if the Budget needs to be different for Dimension Customer Group.
- Click OK to create the Budget.

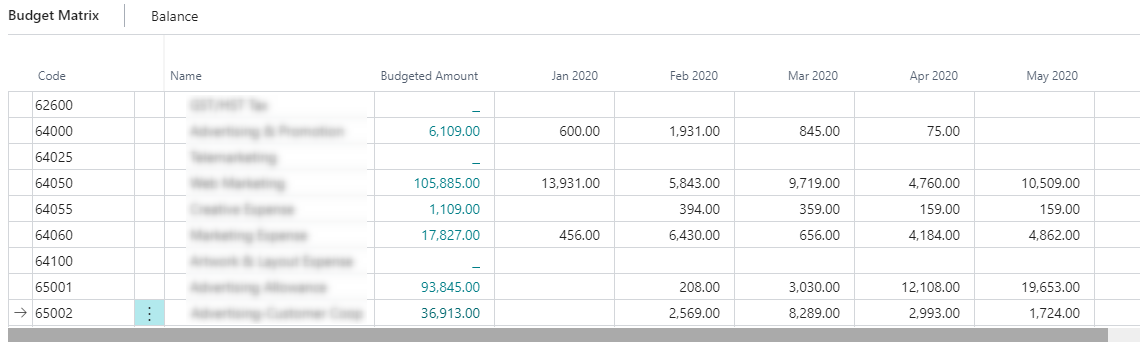
Review the newly created Budget and make adjustments if necessary.
For adjustments, on the main Budget screen, select Budget > Export to Excel, make adjustments and click on Budget > Import from Excel to replace or add entries.

Now you can see actual entries for the new Budget with this useful, neat feature in Dynamics 365 Business Central.