With hundreds of emails crossing your inbox every day, the Outlook mobile app can clutter quickly. Those who have Microsoft Power BI on their mobile devices can easily view their Outlook “Inbox” and “Junk Email” folders.
With some customization, Power BI can aggregate your most important emails into a central dashboard that alerts if you have important e-mails that demand immediate attention. This is especially helpful for frequent business traveling or discretely fielding important emails during meetings.
Build the Outlook Dashboard in Power BI Desktop
1. Open Power BI Desktop.
2. Go to Home > Get Data > Select More:

3. Select Online Services > Microsoft Exchange Online

4. Enter your e-mail address, and click OK:

5. As shown within the “Navigator” window, check the box for Mail on the left and then click the green “Load” button in the lower right.

Configure Dashboard Visuals
In the empty canvas and on the far right in the “Data” pane, you’ll see the list of fields available to select for this Dashboard:

The final screenshot below shows the completed Dashboard, offering two Slicers at the top and a Table at the bottom showing what e-mails are sitting in my “Inbox” and “Junk Email” folders.
Building this Dashboard required accessing Visualizations on the right and the objects specified in the table, shown below:

|
Visualization |
Icon |
Fields Dragged to Visualization |
|
Slicer |
Importance |
|
|
Slicer |
DateTimeReceived |
|
| Table |
Folder Path, Preview, Subject, DateTimeReceived |
The “Importance” Slicer allows me to choose which e-mails to display in the Table and, specifically, those with “High”, “Low”, or “Normal” Importance or a combination of all three. The “DateTimeReceived” Slicer lets me choose the Table’s date range.
The only other requirement for building the Dashboard is shown in the “Filters” pane, on the right side of the canvas. Here, Advanced Filtering ensures that only “Inbox” or “Junk Email” is selected for the Table’s “Folder Path” field:

(This filtering was accomplished by, first, clicking on the Table in the canvas.)
Finally, you are free to rename the tab, here we’ll rename it at the bottom of Power BI to “Inbox”:
![]()
Optimize for Mobile Viewing
Although reviewing Outlook e-mails within the Power BI Desktop is helpful, it’s not “convenient”. Rather, it’s best to review this data on a mobile device. In the bottom left-hand corner of every Power BI page are two icons:
![]()
The “Desktop layout view” icon is the default selection, as shown by the green line underneath. Choosing the “Mobile layout view” icon, conversely, displays the Dashboard in a mobile canvas.
Once this icon is chosen, you can pull three Visualizations from the “Page visuals” pane on the right and onto a layout resembling a mobile device. Here is the result:

Publish to Power BI Service
To see this on your mobile device, you’ll need to publish this to the Power BI Service. This was done by navigating to File > Publish > Publish to Power BI.
The next step is to click the “Publish to Power BI” button:

Any destination may be chosen, but in this example, we selected “My workspace” and clicked Select:

Then you’ll see the below screenshot that it was successfully published to the Power BI Service.

Lastly, you’ll be able to find the dashboard on your mobile device by simply clicking workspaces and selecting the workspace you’d like to view. This will help you be confident heading into a conference call or meeting that day knowing you don’t have any emails requiring immediate attention.
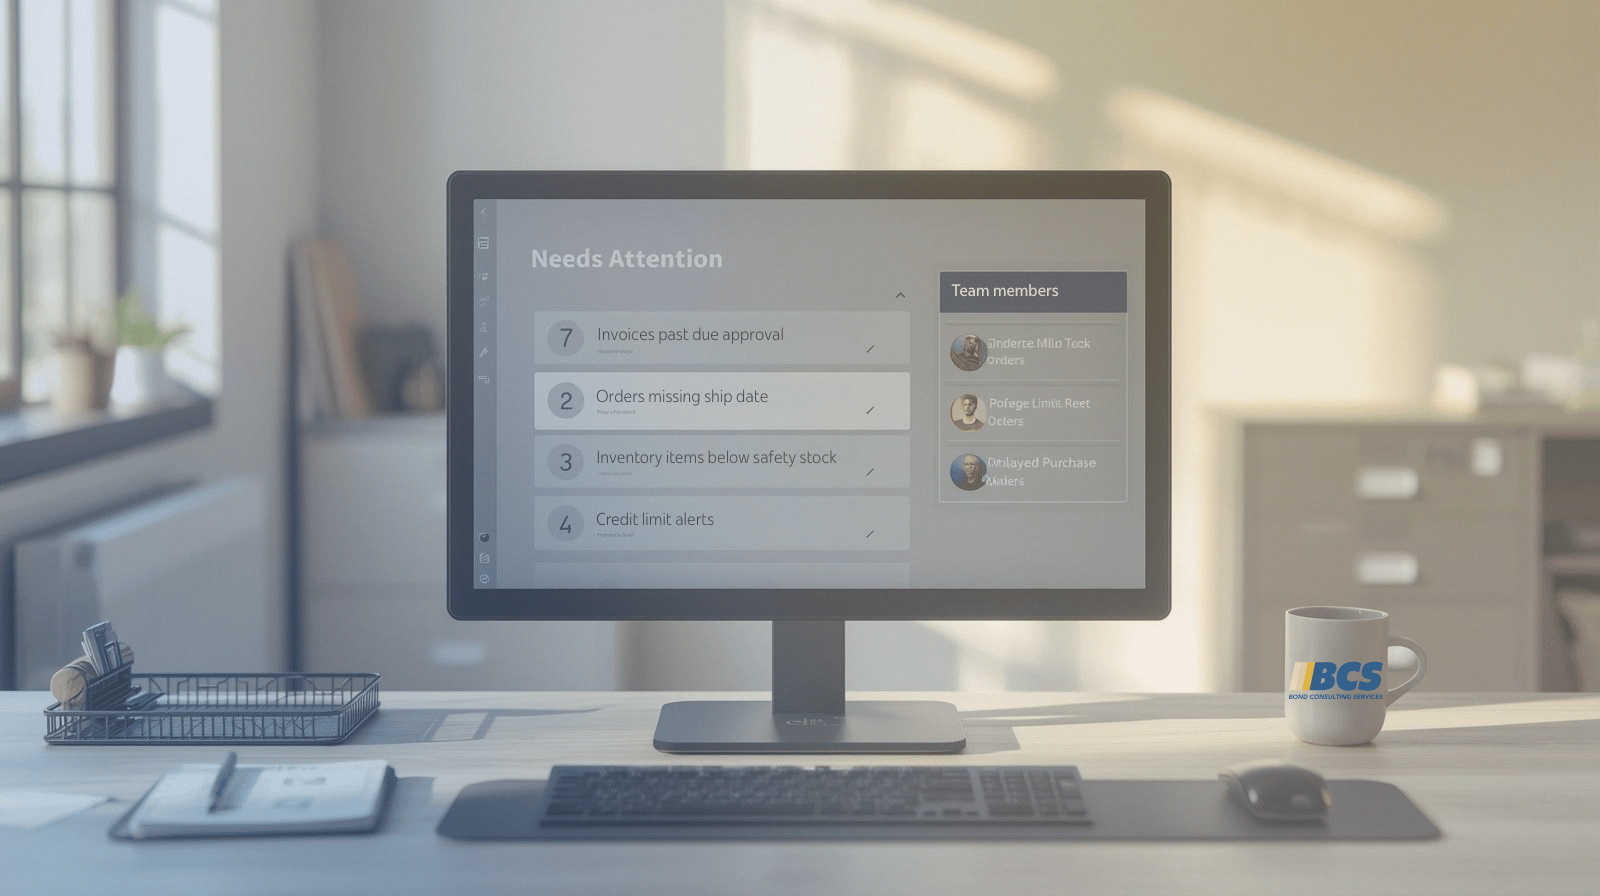
Where This Fits with Business Central
Power BI dashboards are often developed alongside Business Central implementation projects to provide real-time operational and financial insights.
Need Help with Power BI or Reporting?
If you need help building custom Power BI dashboards or integrating reporting with Business Central workflows, our team can assist.