How to Add Your Company Logo to a Dynamics CRM Form by Chris Francis
 I recently received a customer request to allow Dynamics CRM users to click a link within an Account and open a URL in a new browser session. They didn’t want to make the user interrupt the natural process flow by making them click a ribbon button at the top of the browser. The following instructions outline the steps necessary to add the company logo to the Account entity form. In a future article, I’ll explain how to add a URL link to the logo. To perform these tasks, you must have either the System Administrator or System Customizer role.
- The first step is to add a graphic image as an HTML web resource in CRM. I decided to use the Bond Consulting Services company logo.

- In CRM left navigation, select Settings > Customization, and click on “Customize the System”.

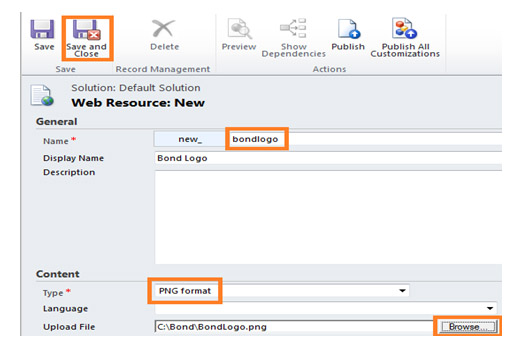
- Select Web Resources and click New.

- Enter a name, select a file format (allowable formats are PNG, JPG, GIF, or ICO), browse to select the file. Then click “Save and Close”.
- In CRM left navigation, select Settings > Customization, and click on “Customize the System”.
- The next step is to add the image web resource to the Account entity.
- While still within the customizations form, expand Entities, expand the Account entity, click Forms, and select the Main Information form.

- We want to add the logo to the Header section of the form. As a default, the resource will be inserted to the first available location in the Header section. We will have the option to drag the resource to another location on the Header after it is inserted.
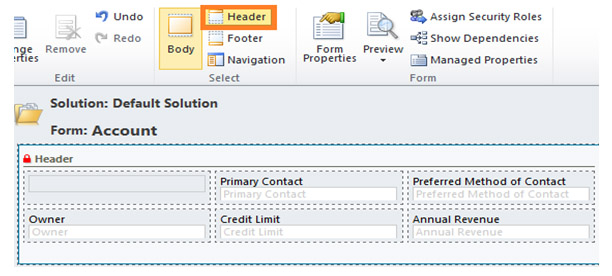
- Click Insert, and select “Web Resource”.

- Browse to select the Web Resource, enter a Name and Label.
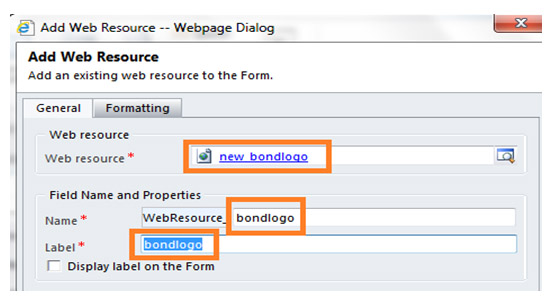
- Click the Formatting tab. Select “One Column” and “Number of Rows” = 1. Click OK. After it is inserted, drag it to the desired location.
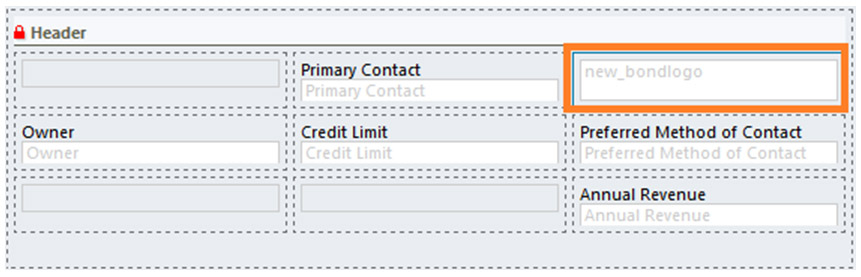
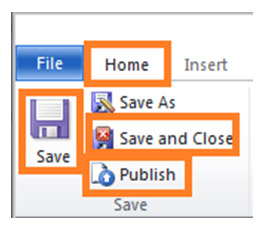
- Save and publish the form customization in order to review the results. Select the “Home” tab, click “Save”, click “Publish” and wait for the “Publishing Customizations” message to complete, and then click “Save and Close”.
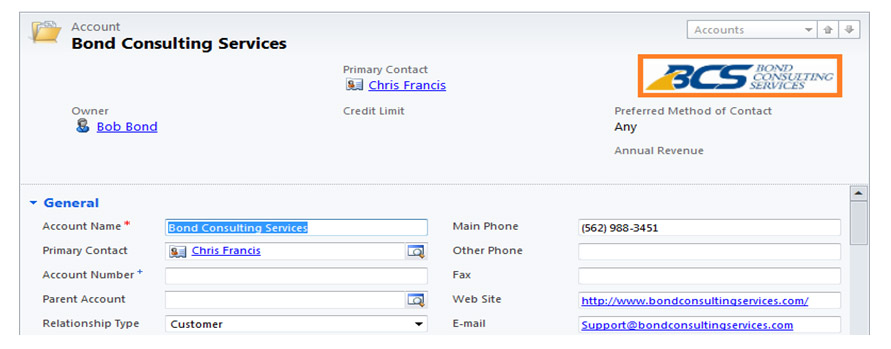
- Close the customizations form and navigate back to Accounts and open one to see the results. In CRM left navigation, select Sales > Accounts, and click on an Account to see the new logo.
- While still within the customizations form, expand Entities, expand the Account entity, click Forms, and select the Main Information form.
Chris Francis is a Senior Consultant/Developer at Bond Consulting Services. He has developed many CRM customizations and xRM vertical solutions for our customers.
If you have any questions regarding this article or how Bond Consulting Services can help your organization get the most out of Dynamics CRM, feel free to contact us.